Popina’s Plum Tart


I’m writing this from my very favorite place on earth. It is pure heaven to be back in Italy where everything is reassuringly unchanged. I slip so easily into the daily routine of morning visits to Gaiole to stock up on supplies; succulent meat from Vincenzo, the butcher and a replenishment of fresh fruit from Angiolo, the green grocer before heading back to a lazy day of reading on the wall before preparing dinner.  


Banished from the wall for a few hours due to a torrential downpour, I decided to try my hand at Popina’s plum tart that is usually Ben’s domain. He started making it a few years ago and it looks and tastes so impressive that I assumed it was beyond my capabilities. Guided by Ben’s husband Charlie, an expert baker, the tart was in the oven in no time at all and our sweet toothed guests were finally given something to satisfy their cravings. I can’t recommend Popina’s Book of Baking highly enough for novices to experts alike.


Popina’s Plum Tart

Adapted from Popina Book of Baking


Ingredients:

Sweet Shortcrust:

8.8 ounces plain flour

4.4 ounces unsalted butter, chilled and cubed

3 ounces granulated sugar

1 egg

Sponge Dough:

1.6 ounces unsalted butter, at room temperature

3.2 ounces granulated sugar

1 egg

1 1/2 teaspoons baking powder

3.2 ounces plain flour

Tart:

A selection of plums (about 15)

3 tablespoons marmalade 

2 tablespoons water


Method:

Preheat the oven to 325°F


Make the Shortcrust pastry:

1. Put the flour, butter and sugar in a food processor and blitz until you get crumbs.

2. Add the egg and blend again until the ingredients form a ball of dough. 

3. Wrap the dough in plastic wrap and put in the fridge while you do the next steps.


Make the sponge dough:

1. With an electric whisk, blend the butter and sugar in a mixing bowl.

2. Add the egg and baking powder and whisk to combine.

3. Gently fold in the flour by hand until you get a smooth paste.


Make the tart:

1. Butter a 9″ fluted tart pan, preferably loose based.

2. Roll out the shortcrust pastry on a lightly floured surface and line the tart pan. You can also cheat like I did and put the ball of dough directly into the pan and use the palm of your hands to distribute evenly and then your fingers to fill the sides. 

3. Trim any excess dough from the edges.

4. Spoon the sponge dough into the tart shell and spread in an even layer.

5. Scatter the plums around the tart. 

6. Bake in the preheated oven for 45 minutes. The sponge dough will rise around the fruit and turn a golden brown.

7. Leave the pie to cool and heat the marmalade in a small pan with the water. 

8. Sieve the marmalade and brush over the tart before serving. 

Matcha Popsicles


The last couple of months have been a whirlwind of excitement working on our first cookbook. Aurora and I have been testing, editing, writing, photographing all with the help of the newest member of the Many Kitchens Team; Jack (aged 8 months). Being on the other side of the publishing process has brought an even higher level of respect for authors as for the life of me, I can’t figure out how they get anything else done. Lest anyone think that my silence on this blog is due to me languishing poolside, it’s really because my creative juices were wholly consumed by this book that I can’t wait to tell you more about.


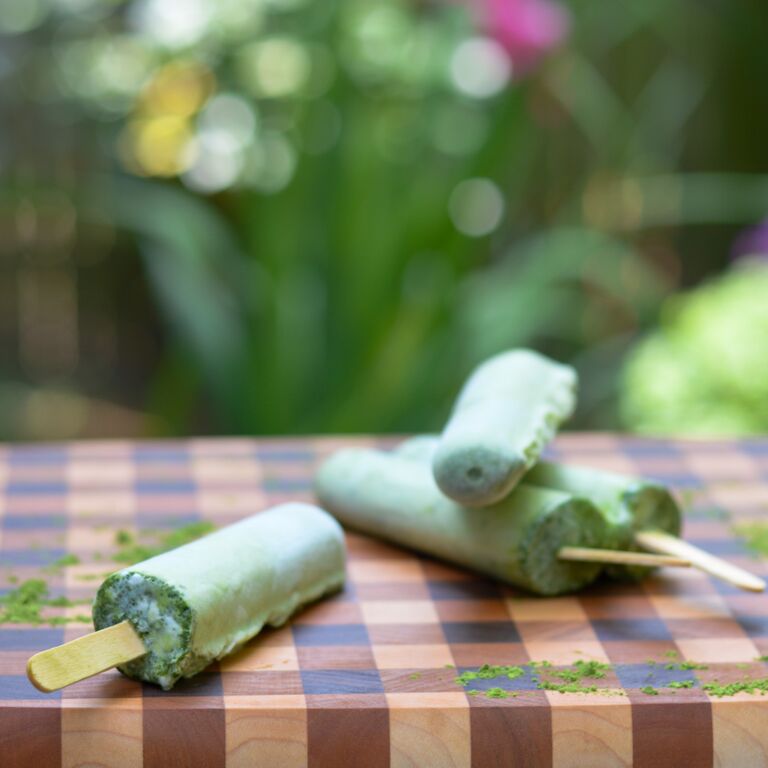
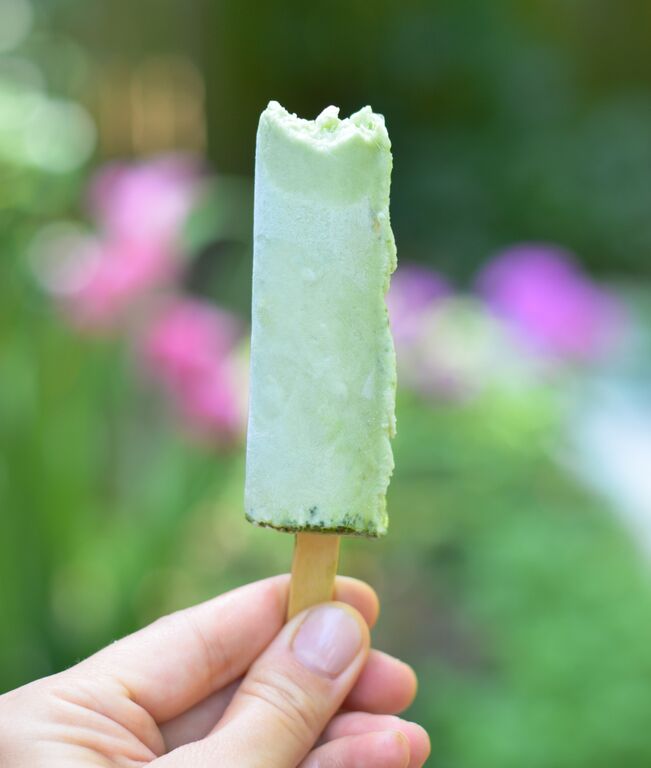
With the manuscript finally delivered, the last photos taken and a much needed and regenerative weekend staying with my friend Leigh, I’m finally back! It’s 94 degrees outside and all I want to eat is popsicles. We made these with In Pursuit of Tea’s incredible Matcha (not all matchas are created equally) and creamy coconut milk. Seriously delicious and refreshing, they are the perfect treat to combat this heat.


Matcha Popsicles

Ingredients:

1 can coconut milk (don’t use reduced fat)

1/2 cup half and half, plus 2 tablespoons

3 teaspoons good matcha powder

1/4 cup agave nectar


Method:

1.  In a large bowl with a pouring spout, whisk coconut milk till the top cream is smooth and mixed throughout.

2. Next, in a small bowl, whisk matcha powder into 2 tablespoons of heavy cream. Work slowly while adding powder and thoroughly whisk till well blended.

3. Transfer matcha mixture to the large bowl and add in agave nectar. Mix ingredients till smooth then pour into popsicle molds and freeze for at least 5 hours.


Crème Brûlée


My absolutely favorite kitchen tool is also the one I use least. As crazy as it sounds, just having a torch makes me feel confident in the kitchen and lighting it up makes me feel like a pro. Crème Brûlée looks so much more impressive than it is. It’s pretty foolproof and so fun to make. The minute I got samples of La Canne’s incredible sugars, I knew exactly how I wanted to use them. The Smoked Pecan flavor made the perfect crackly crust to a silky smooth custard below.


Crème Brûlée 

Serves 8

Ingredients:

4 cups of chilled heavy cream (divided)

2/3 cup granulated sugar

1 vanilla bean (split lengthwise and seeds scraped out)

12 large egg yolks (freeze the whites for another use)

8 heaped teaspoons of Pecan Smoked Sugar


Special Equipment:

8 ramekins (about 4 or 5oz)

1 culinary torch


Method:

1. Heat oven to 300°F.

2. In a medium saucepan, heat 2 cups of the cream, sugar and vanilla seeds as well as the pod. Stir well and bring to a boil. Once it’s come to a boil, turn the heat off and let the mixture steep for about 15 minutes.

3.Stir the remaining 2 cups of cream into the mixture, stir well and remove the vanilla pod.

4. Line a large roasting pan that will fit all the ramekins with a kitchen towel. Arrange the ramekins on the towel. Bring a kettle of water to the boil.

5. In a large bowl, whisk the egg yolks until combined. Whisk in about a cup of the cream mixture until combined. Repeat with a cup each time until all the mixture is combined with the yolks and looks evenly colored.

6. Evenly divide the mixture between the ramekins and carefully place the baking dish on the rack in the oven. Then very carefully pour boiling water into the pan, making sure not to get any in the ramekins. Keep adding until the water is half way up the ramekins.

7. Bake until the custard have just set; about 30 minutes.

8. Transfer the ramekins to a wire rack and bring to room temperature; about an hour. Cover with plastic wrap and refrigerate until cold. At this point, you can leave them for up to 4 days.

9. When you’re ready, uncover the ramekins and blot any condensation with a paper towel. Sprinkle each ramekin with a heaped teaspoon of Smoked Pecan Sugar. Tilt and tap the ramekins to evenly distribute the sugar.

10. Then the fun part. Ignite the torch and burn the sugar until it’s nice and dark. Refrigerate uncovered to set the sugar for about 5-10 minutes but no longer than 40 minutes.


Mother’s Day Sponge Cake


Val was kind enough to let me take on this weeks blog post and it is a pretty special one for me. This is my first Mother’s Day as a mom and I still can’t quite believe it. It has been such a wonderful and crazy new step in life and I honestly couldn’t have adapted without the immeasurable help of my own mother.


I have always been close with my mother but now I understand her more too. Motherhood isn’t glamorous. True there is nothing better than holding a sleeping baby that snuggles into you and wakes with a smile but that same love bug still spits up all over your clothes at least once a day. Not to mention all that I put my mother through in my long adolescence. It dawned on me when I called her a couple weeks ago needing to talk, I’m a 32 year old who still needs her mom. I started laughing imagining my son calling for help in his 30’s. That’s commitment. This is the long haul and I am finally starting to understand the depth of motherly love.


This Mother’s Day I wanted to celebrate with a cake. We aren’t the best bakers in our family so when we get a good recipe we treasure it. My mom made this cake on her last visit. It was one of two layer cakes she made in one week, which gives you the faintest clue of the obsessive and overwhelming love of motherhood. The sponge cake was incredibly light and fluffy and each layer was bright and beautiful so that the affect was like opening a present. The recipe just felt special and seemed the perfect tribute to the day. I hope you enjoy it and happy Mother’s Day to all!


Mother’s Day Sponge Cake

Ingredients:

3/4 cup sugar

6 oz. butter, softened

3 large eggs, brought to almost room temp.

1 teaspoon vanilla extract

1 cup self rising flour

1-2 tablespoons vanilla almond milk (you can substitute regular milk if you prefer)

5 tablespoons lemon curd

5 tablespoons strawberry jam


Icing:

1/2 pint heavy cream

1 cup powdered sugar

1 teaspoon vanilla extract


Method:

1. Preheat oven to 350° F. Grease two 8″ non-stick cake pans and bring your eggs out of the refrigerator in advance so they are not so cool when added.

2. Whip your sugar and butter using a stand/hand held mixer until consistency is smooth. Then add in your eggs one at a time until the mixture is glossy and smooth like mousse. Finish by mixing in vanilla.

3. Fold in your flour, stirring gently till just mixed. Finish by adding milk. Start by adding 1 tablespoon of milk and add an addition if needed to make mixture smooth and able to drop easily from the spoon to the cake pan.

4. Divide batter between the two cake pans and bake in the center of the oven for 15 minutes.

5. Once cake has cooked, remove to cool on a wire rack.

6. Meanwhile, mix all icing ingredients in a large bowl with an electric mixer. Whip till soft peaks form and remain when you gently pull away the beaters.

7. To finish the cake, lay your first layer of sponge cake on your serving platter. Top with lemon curd, making sure to spread evenly as a layer. Next add your strawberry jam, again spreading evenly.

8. Place your final sponge layer on and begin icing cake. You will have extra whipped cream icing but its always better to have to much than too little. Enjoy!


Note: This cake is best the day it is made, that is when the sponge is freshest and the whipped cream icing the best.

Hanukkah Donuts (Sufganiyot)


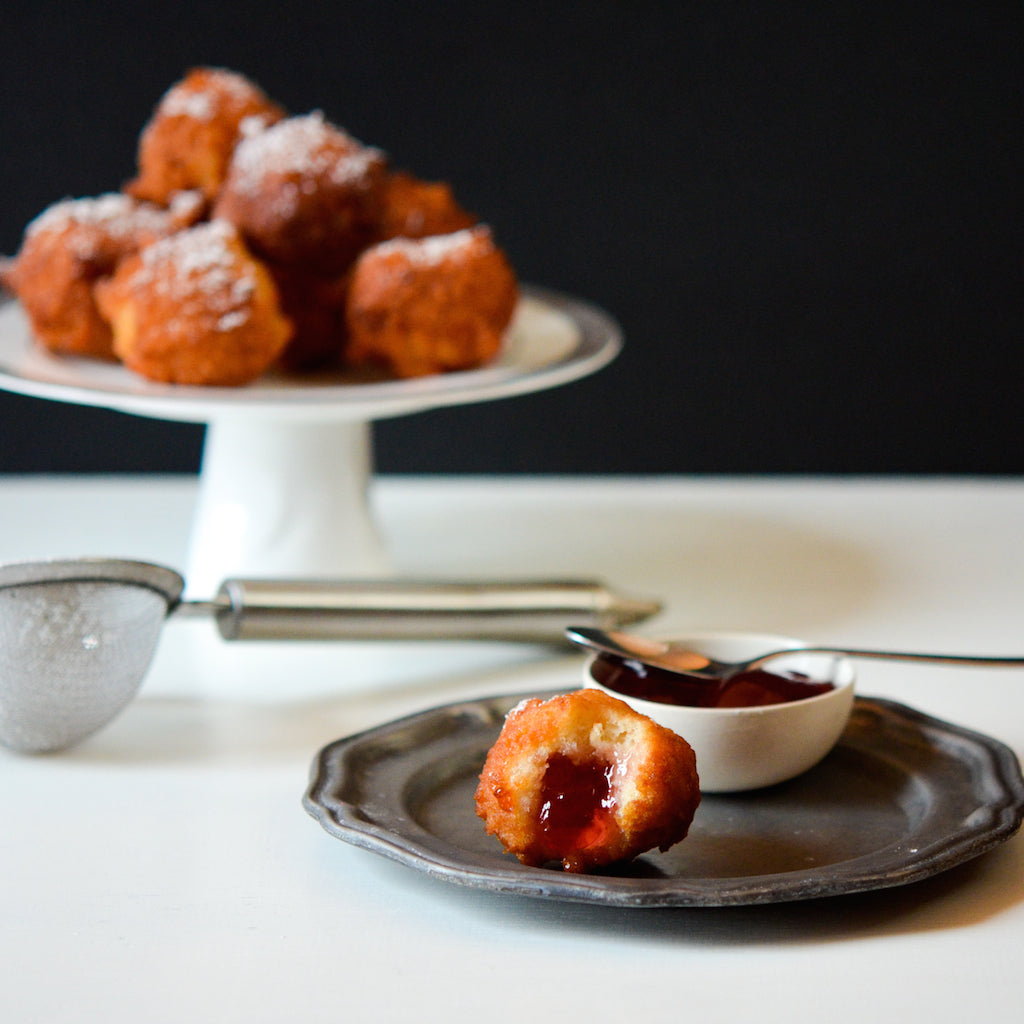
Who doesn’t love fried foods and what better way to enjoy than an entire holiday devoted to them! These donuts, or sufganiyot as they are often called (though don’t ask me how to pronounce that), are a delicious addition to a Hanukkah feast. The recipe is simple and once you get your frying temperature right you’ll be done in a flash. Then comes the fun part of deciding what to fill them with. We work with so many wonderful makers of homemade caramel sauces, jellies, jams and fudges that we went wild. The result was a delicious smorgasbord of sweets that were still hot from the frying with crunchy outsides and fluffy, rich insides. It was as fun making them as eating them so this recipe is great to get family or friends involved. We hope you enjoy as much as we did!


Hanukkah Donuts (Sufganiyot)

Adapted from Quick & Kosher by Jamie Geller

Makes about 14 donuts

Ingredients:

2 1/2 cups self-rising flour

2 (8-ounce) cartons Greek yogurt

2 tablespoons sugar

2 tablespoons honey

1 teaspoon vanilla extract

1/2 teaspoon ground cinnamon

2 eggs

6 cups canola oil

3/4 cup confectioners’ sugar (for dusting)


Filling:

Fleur de Sel Caramel Sauce

Fudge Sauce

Afternoon Strawberry Jam

Strawberry Jalapeño Jam


Method:

1. In a large bowl, mix flour, yogurt, sugar, honey, vanilla, cinnamon and eggs. Knead mixture until thoroughly combined and a sticky, doughy batter is formed.

2. Cover with a kitchen towel and let it rest for 20 minutes.

3. Meanwhile, Heat 6 cups canola oil in a 6-quart stockpot, over medium heat.

4. When dough is ready, test oil by dropping in 1 tablespoon of batter (ideally you want to be able to cook the donut 1 minute per side and have it be a golden brown color. If it darkens too quick or can’t last a minute per side then your oil is too hot. Allow it to cool before you do another test. Similarly if the batter stays a pale tan and doesn’t turn golden in a minutes time, your oil is too cool- turn up the heat and test again in 5 minutes).

5. To fry donuts, scoop out a tablespoonful of batter and drop in oil. (Don’t make the doughnuts too big, so they can cook through.)

6. Once your oil is the correct temperature, you should be able to fry about 7 doughnuts at a time. Using a slotted spoon, turn doughnuts when halfway browned, about 30 seconds to 1 minute.

7. Fry for another 2-3 minutes or until entire doughnut is deep golden brown and cooked through.

8. Remove doughnuts and let cool on paper towel-lined plates.

9. Repeat with remaining batter.

10. Fill a squeeze bottle with your desired filling and inject a little into each doughnut. Roll each doughnut in confectioner’s sugar. Serve up to your guests!


Earl Grey Poached Pears with Caramel Sauce


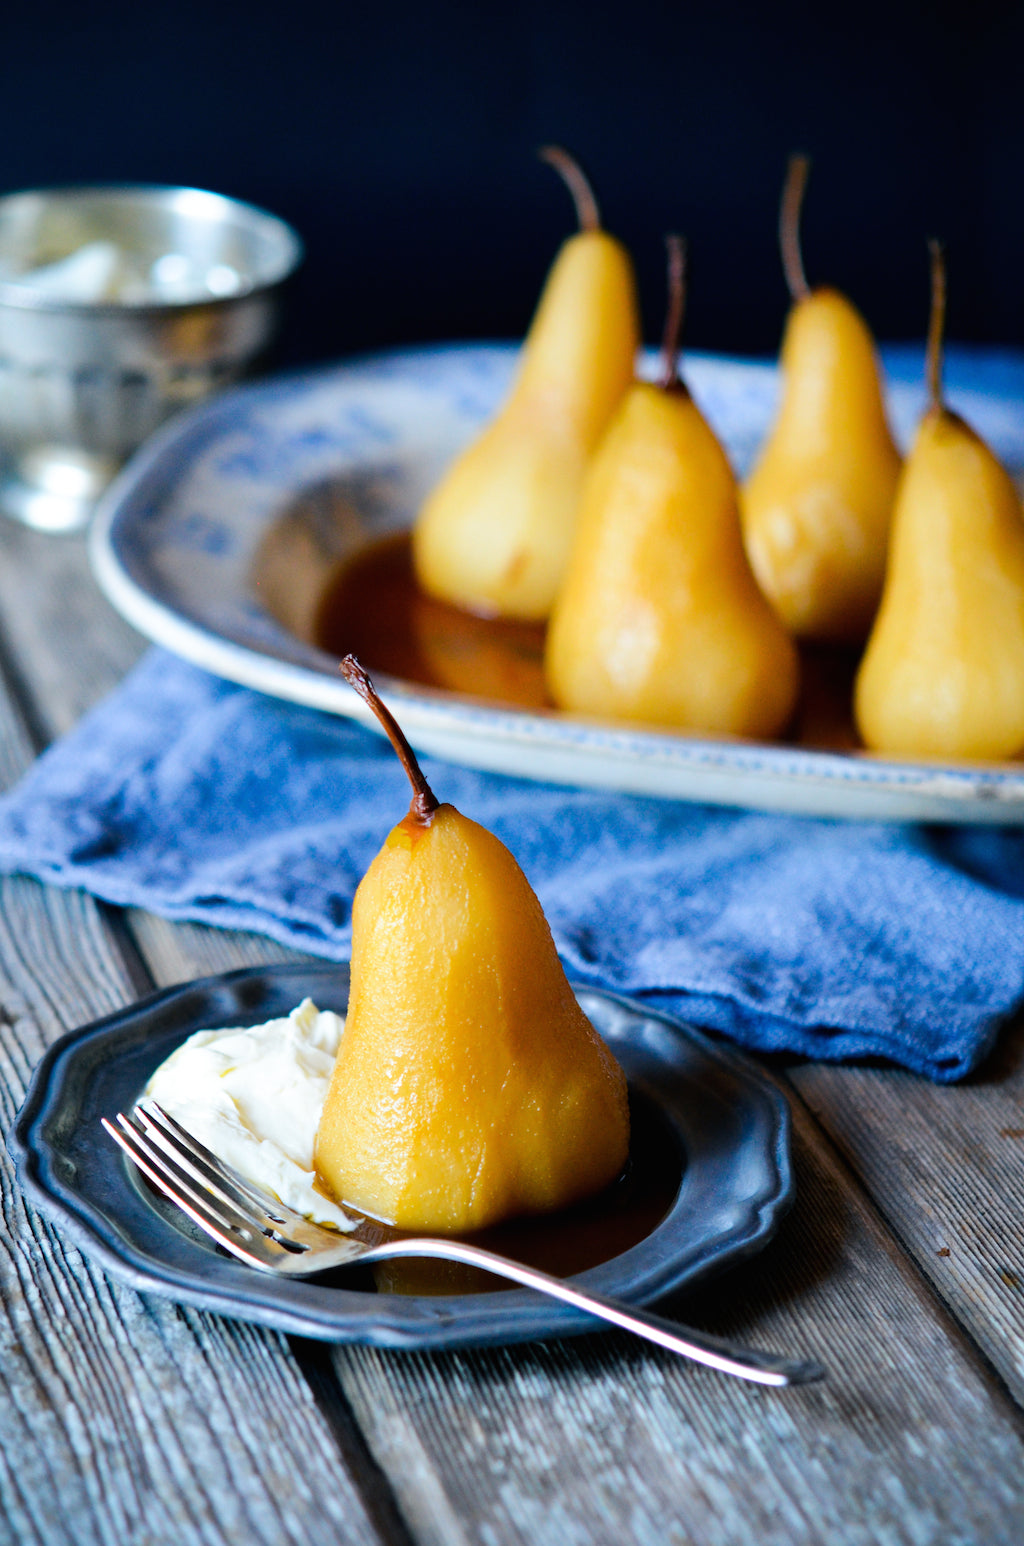
Apparently October is National Caramel Month. They seem to have a day and a month for everything – not just a National Pizza Day but a National Sausage Pizza day!? Caramel though seems like a great one to get a whole month to itself and I’m definitely not going to complain about another reason to pour it over everything in the name of national pride. Drizzling it over these delicately flavored poached pears made an already amazing dessert even better. This caramel sauce is one of the newest products from our friend Nicole, founder of The Caramel Jar. It is scrumptiously decadent – if you’ve ever tasted her Fleur de Sel Caramels, you’ll know what to expect. 


After a little bit of fuss peeling and coring, the pears really just cook away with almost no work on your part and look almost majestic when displayed on a platter. Perfect for a dinner party as they can be made days in advance – refrigerating them in their sauce only makes them taste better!


Earl Grey Poached Pears with Caramel Sauce

Serves 6

Ingredients:

6 cups of brewed Earl Grey Tea

3/4 cup granulated sugar

Juice of 2 lemons, plus peel of 1 lemon

1 orange peel, peeled into large strips

6 ripe pears, peeled and cored (try to leave the stem intact)

Fleur de Sel Caramel Sauce

Crème fraiche


Method:

1. Brew Earl Grey tea and pour into a saucepan wide enough to hold the pears in a single layer.

2. Over medium-high heat, stir in the sugar until dissolved. Then add the lemon juice, lemon and orange peels and finally the pears.

3. Bring the liquid to a simmer then cover, reduce the heat and cook the pears until tender (approximately 30 minutes but cooking time will vary depending on pear’s ripeness). Test with a pairing knife.

4. Once pears are done, scoop them out with a slotted spoon or spatula onto a serving dish and allow to cool. Once cooled, you can slice a small amount from the bottom of each pear to leave a flat bottom so they stand up straight.

5. Remove the zest from the poaching liquid and bring the mixture to a boil. Continue to boil until mixture has reduced to 1 cup of liquid. Allow syrup to cool.

6. Plate poached pears and drizzle with syrup. Serve with fleur de sel caramel sauce and crème fraiche.


Honey Cake


Rosh Hashanah marks the start of the new Jewish year. We make honey cake not only because it is delicious but also because it bodes well for a “sweet year” and what better way to dish up those blessings on to those we love than a rich, honey filled cake. This recipe is taken from Judy Bart Kancigor’s “Cooking Jewish,” a book my father kindly sent to me when I was finishing my conversion to Judaism. It is a wonderful resource of family recipes and I use it as my go-to for major holidays. By adding Catskill Provisions’ Fall honey to the cake it adds the perfect sweetness and also holds up to the coffee, fruit zests and other Fall flavors like cinnamon and nutmeg. This cake is extremely aromatic and is best dished up with a hot cup of tea or coffee.


Another fun part of Rosh Hashanah, is casting off your sins. If you see groups of Jewish people along the water this September, you’ll now know what they are doing. For Rosh Hashanah, Tashlich is a tradition where you throw bread into the water to symbolize you casting off the sins of the year.  I always love to take a couple slices to the Hudson and slowly absolve my sins by feeding any seagulls or ducks I can find. Almost like a scapegoat, these ducks eat my sins and swim away, making it a very cathartic experience.


So, Rosh Hashanah is really a beautiful holiday where you take stock of the year and get ready to start anew. My family eats this cake the morning of Rosh Hashanah for a sweet start to the day. I hope you’ll enjoy it as well!


Honey Cake

Source: “Cooking Jewish” by Judy Bart Kancigor (Workman) 

www.cookingjewish.com

Ingredients:

2 1/2 cups all purpose flour plus extra for dusting the pan

2 teaspoons baking powder

1/2 teaspoon baking soda

1 teaspoon ground cinnamon

1/2 teaspoon ground ginger

1/2 teaspoon ground cloves

1/2 teaspoon salt

1/4 cup vegetable oil plus extra for greasing the pan

1 cup sugar

1 cup honey

2 large eggs, separated

Grated zest of 1 lemon

Grated zest of 1 orange

1 cup strong brewed coffee, cooled to room temperature (the coffee really influences the taste so use one you love)

1/2 cup walnut pieces, toasted

Powdered sugar for dusting once cake is cooled, optional


Method:

1. Preheat the oven to 325° F. Grease a 9×5″ loaf pan (I doubled the recipe to fit into a massive cake pan but the resulting cake was immense – true family style), dust with flour and tap out the excess.

2. In a medium bowl, whisk the flour, baking powder, baking soda, cinnamon, ginger, cloves and salt together and then set aside.

3. In a large bowl with an electric mixer, blend the oil, sugar, honey, egg yolks and zests on medium speed until thick and well blended (about 3 minutes).

4. Reduce the blender speed to low and add one third of the flour mixture. Next add half the coffee. Alternate between the remaining thirds of flour and the last half of coffee, ending with the flour.

5. Stir the toasted walnuts into the batter.

6. Using a clean bowl, beat the egg whites on medium-high speed until stiff peaks form (1- 1 1/2 minutes). Stir one fourth of the egg whites into the batter to lighten it. Then add the remaining whites in three additions folding them in until incorporated.

7. Scrape the batter into the prepared loaf pan and bake in the center of the oven until the cake springs back when lightly touched and a cake tester inserted in the center comes out clean (about 1 hour and 10 minutes). Set on a wire rack to cool for 15 minutes.

8. Run a knife around the edges and turn the loaf out. Return it to the rack to cool completely.

9. Cut the cake into slices and serve with coffee or tea. This cake also goes extraordinarily well with poached pears and cream as a topping for a more decadent dessert.


Blueberry Crisp


What would you have for your last supper? I know it sounds like a morbid question but it’s one I love to ask people and have been annoying friends and strangers with ever since I was given a copy of the gorgeous  ‘My Last Supper’  by Melanie Dunea. I’ve been perfecting mine for years. It starts with zucchini flowers stuffed with ricotta and fried in a light batter. Then unsurprisingly, if you’ve read my earlier blogs, spaghetti with tomato sauce followed by roast lamb, caramelized carrots and potato gratin all finished off with a fruit crumble buried in heavy cream. What I’ve found in my own little (completely unsubstantiated) anthropological experiment is that no matter how much of a connoisseur of fine food a person has become, most everyone seems to want their last supper to contain something they were fed as a child. The connection between food, emotions and memories that we read so much about proven once more.


Crumbles (or Crisps if you are American) are my kind of dessert; baked fruit bubbling up under a thick streusel like topping. I remember picking blackberries in Suffolk as a child and reaching a little too far for that perfect juicy berry before the inevitable fall into the bramble and the later satisfaction of having contributed to the apple and blackberry crumble for dinner. Perhaps best of all fruit desserts is my godmother’s blueberry crisp, a staple at large dinners she gave; so easy to put together for a big group and always beloved by all.


When Mr. Wittle’s joined our community I instantly thought of how delightful and easy their pie fillings would be as crisps/crumbles. Keeping a jar on hand lets you have a fresh baked dessert all year round, no matter what is in season. So below is my godmother’s recipe adapted for Mr. Wittle’s delectable blueberry pie filling. I hope you enjoy.


Blueberry Crisp

Serves 6

Ingredients:

1 jar of Mr. Wittle’s blueberry pie filling (or if making fresh: 4 cups of fresh blueberries)

1 cup of all purpose flour

1/8 teaspoon salt

1/4 cup of oats

1/2 cup of soft brown sugar

1 stick of butter at room temperature


Method:

1.Preheat the oven to 350°F.

2. Butter a large baking dish.

3. Add the pie filling (or fresh blueberries) and spread evenly.

4. In a large mixing bowl, mix the flour, salt, oats and butter using your fingertips until you get a “crumbly” texture.

5. Add the sugar and combine with the flour, oats and butter.

6. Sprinkle the mixture over the fruit and bake on the highest shelf for 40 minutes or until the crumble has begun to brown and the fruit is bubbling through.

7. Serve warm with creme fraîche, ice cream or my favorite, heavy cream.


Baked Peaches (Pesche alla Piemontese)


My mother has a repertoire of a few desserts that she does expertly but rarely and I’m sure I have her to thank for my relatively savory tooth. Baked peaches were one of these famous few and a dish that her grandmother used to make for her when she was a child growing up in Piedmont. Every summer, the minute I start to see ripe peaches in the market, I feel the need to bake up a batch and hope that they taste as good as my great grandmother’s.


I have just returned from a blissful but brief visit to Italy where the peaches were in abundance and so juicy that I had to eat them over the sink. I crammed a two week holiday into 5 days with my oldest friend Catherine. She has the house across the way from me and as children we used to talk about being old ladies together in Italy. Sitting on ‘The Wall’ last week, we joked that we were finally living the dream! Ben joined us from London for just two nights and wrote how he felt like he’d been away for a whole week. There’s something about being there (probably the lack of internet) that makes you feel wonderfully cut off and relaxed.


But back to those peaches! Ever since Aurora and I first discovered Bunches & Bunches delicious Snaps ginger cookies, I’ve been dying to try them on top of baked peaches. It was one of those pairings that I just knew would work as an improvement on the traditional Amaretti di Saronno. The delicious smells emanating from the oven told me I was right before I even tasted them. Wanting to still include a little of that classic flavor, I added a few splashes of Amaretto into the baking dish.


Pesche alla Piemontese

Serves 8

Ingredients:

3 tablespoons unsalted butter, divided

4 peaches (as ripe as you can find)

1/4 cup sugar

8 ginger snaps

1/2 cup Amaretto


Method:

1. Preheat the oven to 350° F.

2. Grease an ovenproof dish with 1 tablespoon of the butter.

3. Halve and pit the peaches and place in the ovenproof dish.

4. In a bowl, crumble the ginger snaps and mix with the sugar.

5. Divide the mixture among the peaches.

6. Dot each peach with butter.

7. Pour over the Amaretto (you could also use sherry or even white wine) allowing some to fall into the bottom of the dish.

8. Bake in the oven for about an hour and serve warm with creme fraiche.  


A Retro Cheesecake and a Return to Suffolk


In a little corner of Suffolk, on the edge of the River Deben, there’s a beautiful cottage called The Manor House. It’s a house that I spent a lot of time in growing up and thankfully its owner, Penelope, is as averse to change as I am. I went back recently to visit my father and Penelope for a weekend and was transported right back to my childhood. The faded green sofas were a little more faded, the jetty onto the river a little more rickety but otherwise it was blissfully unchanged. The overflowing children’s library had me overdosing on nostalgia as I rediscovered Ant and Bee and Robert The Rose Horse – two of my all time favorite books. For those of you with young children, I urge you all to buy copies!


So while Penelope gardened and my father napped, I walked along the river and felt that release of being close to water and out of the big city. I thought back to the weekends we had here and wondered how everyone used to fit – there seemed to always be at least 15 children and adults squeezed around the table. All of us scrambling for the bench by the window as that meant we didn’t have to clear up; a rule that still exists today. I had a flashback to a cheesecake we often ate and Penelope, an amazing cook, kindly dug out the recipe so we could recreate it.


I was so happy to see that it came from a Cordon Bleu Cookery Course indulging my recent obsession with retro foods. I was a little concerned my love for this recipe was based on sentimentality so I remade it back in New York and served it to Kate who proclaimed it her new favorite desert and asked for the recipe. I think it’s a keeper and like all classics, has stood the test of time.


Viennese Cheesecake

Serves 8-10

Ingredients:

12 oz cream cheese

12 digestive biscuits (if you can’t find them, graham crackers will work fine and you’d use approximately 2 cups crumbled)

2 oz butter

4 oz sugar, divided

3 egg whites (you can use the remaining egg yolks to make Spaghetti alla Carbonara)

1 dessert spoon gelatine (I used one packet)

2-3 drops of vanilla extract

Zest of 1/2 a lemon

1 cup heavy cream


Method:

1. Butter the inside of a 8″ springform pan and set aside.

2. Crush the biscuits in a large bowl.

3. Melt the butter and combine with crushed biscuits and 1 oz of the sugar. Divide the mixture in half and press the first half down firmly into the bottom of the springform pan.

4. In a large bowl with an electric mixer, mix the cream cheese and remaining sugar until smooth.

5. In a separate bowl, whisk the egg whites until stiff peaks form. Use an electric mixer if you have one.

6. In a small bowl, mix the gelatine according to packet instructions. If no instructions, dissolve in a 1/4 cup of boiling water until completely clear.

7. Beat the dissolved gelatine into the cream cheese mixture and add in vanilla extract and lemon zest.

8. In a medium bowl whip the heavy cream lightly. Fold the heavy cream and egg whites into the cream cheese mixture. 

9. Pour the cream cheese mixture into the springform pan, smooth the top and cover with the remaining crushed digestives. Allow to set in the refrigerator for at least an hour and serve chilled with fresh berries.