Faux Tarte Tatin with Creme Anglaise


Sometimes there’s nothing quite like a sweet shortcut when you’re pressed for time. My favorite cheats are sweet cheats. We all lead busy lives and the idea of baking a pie after a long day’s work can seem like a step too far. Years ago, one of my best friends whipped up this “faux” tarte tatin in minutes, and had I not seen her do it I would never have believed it was so easy. It’s now my go-to recipe for a dinner party dessert, and one that I rarely have to leave the house to make; it has just four ingredients, all of which I usually have on hand. So when you find yourself stuck with a last-minute guest coming to dinner, or you have been asked to bring a dessert to a potluck dinner, I’d highly recommend giving this a try.


The “faux” creme anglaise sauce that I serve alongside is the best cheat of all. It is melted vanilla ice cream! Could anything be simpler than that? I pour it over everything from brownies to mixed berries but it’s absolutely perfect with apple pie.


Faux Tarte Tatin
Ingredients:
4 tablespoons brown sugar
4 tablespoons butter
2 Granny Smith apples
1 sheet frozen puff pastry (thawed)


Method:
1. Heat the oven to 350 degrees F.
2. In a small saucepan, melt the butter and sugar until you have a smooth liquid.
3. Peel and slice the apples (I cheated and used an apple corer and divider) and mix with the butter and sugar.
4. Butter a round cake pan (I used a 9-inch) and arrange the apple slices in a fan. Scatter what’s left over on top.
5. Place the sheet of pastry over the apples; you may need to roll it a little to get it to be big enough.
6. Trim the pastry to the edges of the tin.
7. Bake for 45 minutes or until the pastry looks perfectly browned.
8. Invert onto a plate and serve with melted vanilla ice cream or, as I like to call it, creme anglaise!

Raspberry Madeleines


There’s no two ways about it, for this recipe you need a Madeleine pan, but the fact that within 20 minutes you can always whip up a batch of these soft, buttery French classics should be enough to convince you to get one. You can make them without raspberries but I loved the touch of tartness and juiciness that they added.


Raspberry Madeleines 

Published in Recipes from Many Kitchens

Makes approximately 20 Madeleines

Ingredients:

4.5 ounces (127g) unsalted butter

3 large eggs

4.5 ounces (130g) sugar

6 ounces (170g) flour

¼ teaspoon baking powder

15 raspberries (cut in half)


Method:

1. Preheat the oven to 375°F/190°C.

2. In a small saucepan, melt the butter and set aside.

3. In a large bowl, beat the eggs and sugar until the mixture becomes pale.

4. Sift the flour into the bowl, then add the baking soda and butter to the mixture. Stir well until smooth.

5. Butter up the madeleine molds well and add mixture to mold until each is 3/4 full. Nestle a raspberry half in the middle of each one.

6. Bake for 10 – 15 minutes until the color is just beginning to turn. They pop right out of their molds and can be served immediately.

Hamantaschen


This week Aurora takes over the blog to share a classic hamantaschen recipe for Purim as well as a little lesson on the holiday.


It’s almost Purim, a Jewish holiday celebrating the salvation of the Jewish people in ancient Persia from the Prime Minister Haman’s plot to eradicate them. Queen Esther turned the tables on Haman thus saving her people.


Today the holiday is celebrated with costumes (many little girls dress as Queen Esther), noisemakers (to drown out the sound of Haman’s name), drinking and these delicious hamantaschen cookies. Hamantaschen in Yiddish means “Haman’s Pockets” and they have three sides much like Haman’s three-cornered hat. The cookies are often filled with poppy seeds but here we took the liberty of filling with Friend in Cheese’s delectable jams. We hope you enjoy them and have a joyous and fun Purim whether you dress up and celebrate or simply want to try a taste of another culture!


Hamantaschen

Makes 18 cookies

Ingredients:

2 cups of flour

1 teaspoon baking powder

1/4 teaspoon kosher salt

1 egg plus 1 egg yolk

1/3 cup vegetable oil

Zest of 1 lemon

2 teaspoons fresh lemon juice

2 tablespoons orange juice

1 tablespoon brandy

Lavender Plum Jelly

Forbidden Fruit Marmalade

1 egg, beaten


Method:

1. In a medium bowl mix flour, baking powder and salt then set aside.

2. In a large bowl beat eggs with yolk then add oil, zest, juices and brandy. Mix until smooth with a wire whisk.

3. Slowly stir the flour mix into the egg mixture until a sticky batter is formed. Cover the batter in plastic wrap and refrigerate from 1 hour to overnight.

4. When ready to bake cookies, preheat the oven to 375F.

5. Divide the dough in two and roll one ball out on a lightly floured surface to 1/4 inch thick. Cut the dough with a biscuit cutter or a cup that is 4 inches in diameter.

6. Spoon a teaspoon of jam in the center of each cookie. Then fold up the sides of the circle to create the triangular shape of the hamantaschen. Pinch along the seams as you go to make sure they are secure. Repeat with remaining dough, alternating between jams.

7. Transfer finished hamantaschen onto 2 baking sheets. Brush all the sides with the beaten egg and then bake in the center of the oven for 10-15 minutes until browned on all sides.

8. Allow to cool and then eat immediately or store for up to 4 days in an airtight container.

Shrikhand (Saffron Yogurt)


Shrikhand or Saffron Yoghurt is a perfect way to end an Indian meal. A light and delicious dessert from Gujarat, its vivid color and flavor comes from the gorgeous saffron. Wonderfully creamy and cooling after a meal filled with spices, it is finished off with nuts to add a little crunch.


Shrikhand by Masala Mama

Published from Recipes from Many Kitchens

Ingredients:

2 cups (500g) Greek-style yoghurt

1 tablespoon (15ml) milk

½ teaspoon saffron threads

½ cup (96g) granulated sugar

¼ teaspoon freshly ground green cardamom seeds, or to taste

For garnish: 

2 tablespoons (21g) chopped unsalted pistachios

2 tablespoons (21g) flaked or sliced almonds (optional)

Some saffron strands


Method:

1. Line a large sieve with muslin cloth. Place a bowl under the sieve and transfer the yoghurt on to the cloth. Cover and let it sit in the fridge for about 5-6 hours.

2. Heat the milk in a small pan or microwave. In a small bowl mix the saffron with the warm milk. Allow the saffron to infuse the milk for about ten minutes using the back of a spoon to crush the saffron further into the milk.

3. Remove the yoghurt from the fridge (the liquid in the bowl below can be discarded). Sift the sugar into the thickened yoghurt, then add the saffron milk and ground cardamom. Cover and chill in the fridge.

4. Garnish with nuts and a few strands of saffron and serve cold in glasses or small saucers.

Mocha Chocolate Mousse


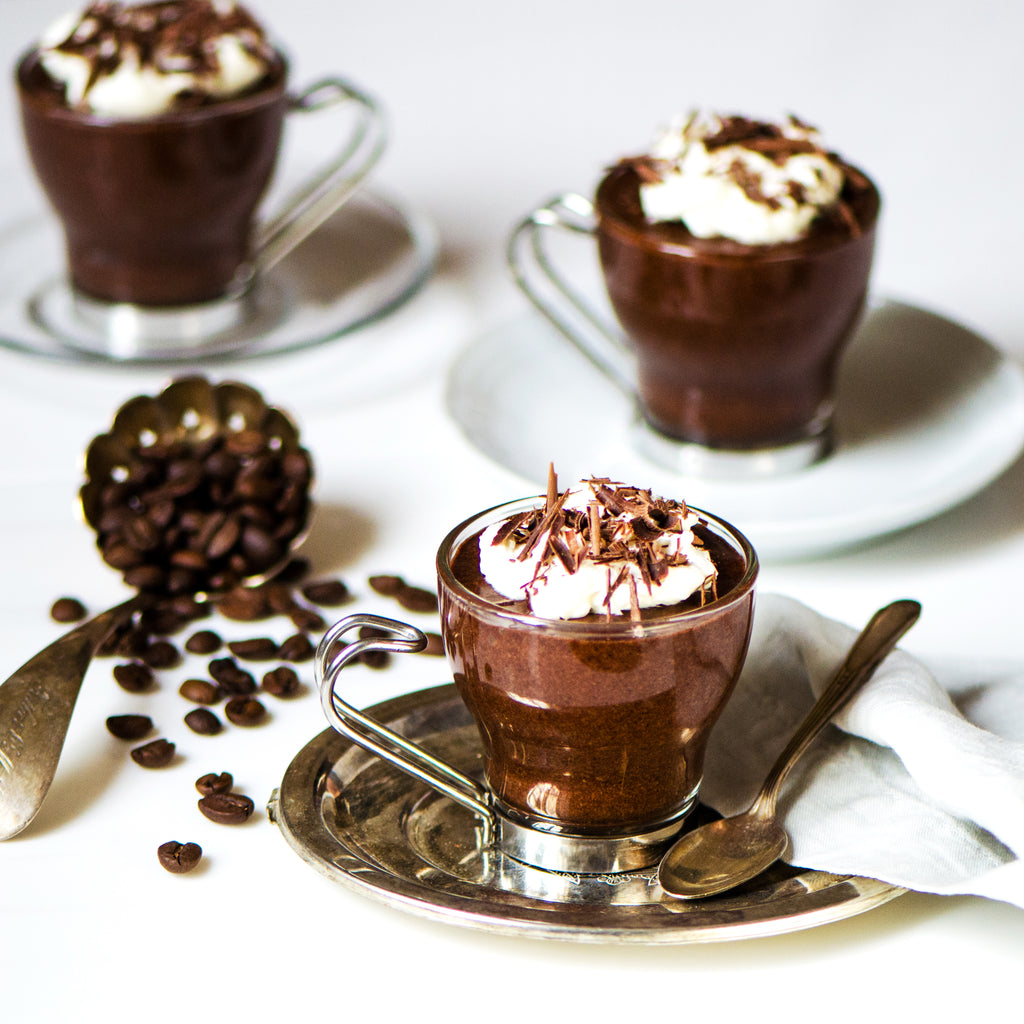
This recipe is adapted from one of my favorite cookbooks and indeed blogs; What Katie Ate. More like pots de Crème than a mousse, a little goes a very long way with these decadently rich and fudgy desserts. I served them in espresso cups for that very reason and to give a nod to the coffee flavor that makes them so distinctive. There’s a bit more work involved than your average chocolate mousse but it’s definitely worth it. With the added benefit of needing to be made in advance, they’re a great way to end any dinner party, not just Valentine’s Day.


Mocha Chocolate Mousse

Serves 6-8

Ingredients:

7 oz. dark chocolate (broken into pieces)

6 oz. unsalted butter

2 tablespoons espresso (or strongly brewed coffee)

4 large eggs, separated

2/3 cup superfine sugar

1/8 teaspoon salt

1/2 teaspoon vanilla extract

Whipped cream and chocolate shavings for garnish


Method:

1. Find a heatproof bowl that fits snugly into a saucepan. Add enough water to the saucepan so it comes just below the bottom of the bowl and bring to a simmer. Melt the chocolate, butter and coffee together in the bowl stirring regularly. Remove bowl and set aside but keep the water simmering.

2. Add some ice cubes and water to a large bowl and set aside.

3. Sit another heatproof bowl over the simmering water and add the four egg yolks, sugar and 1 tablespoon of cold water. Whisk for about 3 minutes until it has thickened and become paler. Remove from the heat and place in the bowl of iced water. Continue to whisk for a further 5 minutes or until thickened and cooled slightly. Be careful not to get any water from the bowl into the egg mixture.

4. Add the chocolate mixture to the egg mixture and combine well.

5. Whisk the egg whites with a pinch of salt until beginning to peak. Slowly add the egg whites to the chocolate mixture, folding in gently until they are all combined.

6. Transfer the mixture to a jug with a spout for easier pouring and distribute among espresso cups or martini glasses. Chill for at least 3 hours in the fridge and serve topped with whipped cream and shavings of chocolate.

Pecan Apple Crumble Pie


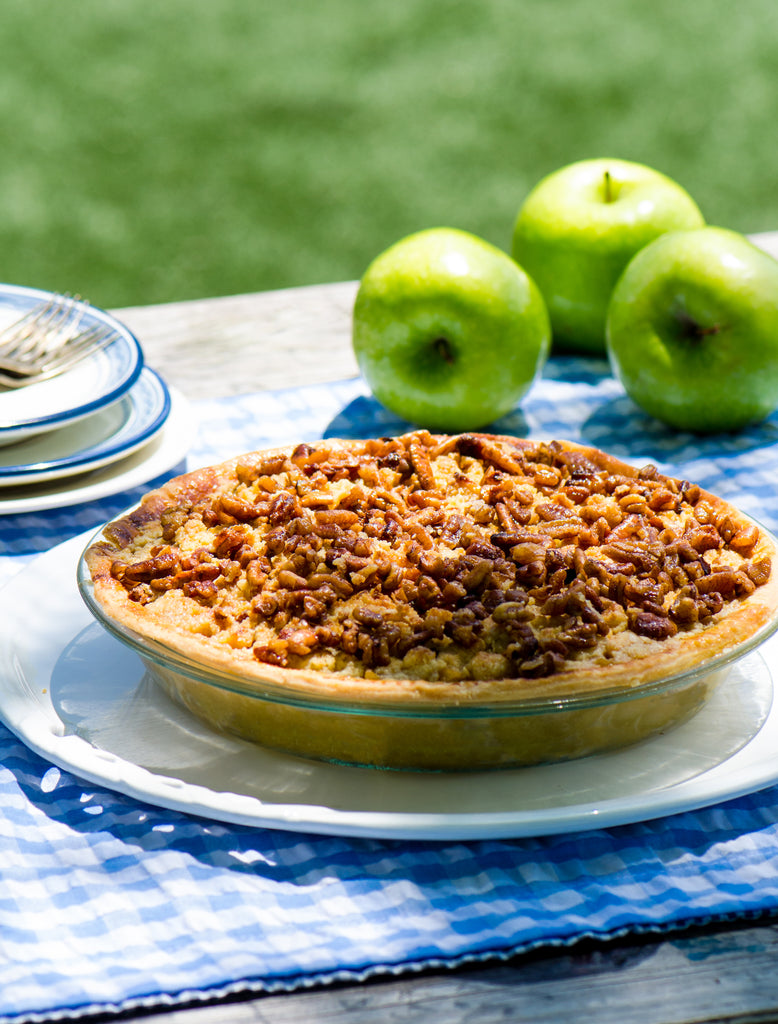
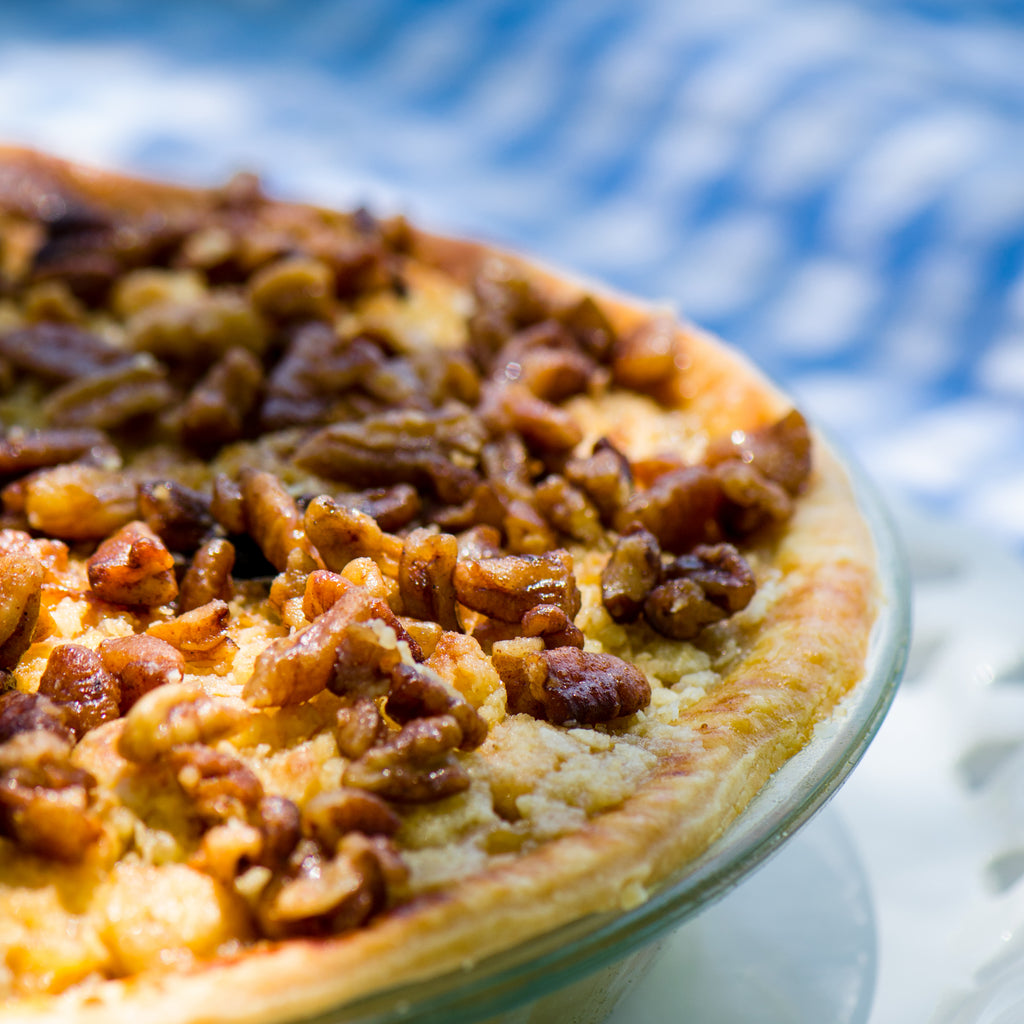
I can never decide which I like more, apple pie or apple crumble and now I don’t have to. The best of all worlds with buttery flaky pastry on the bottom and sweet juicy filling oozing out of the nutty crunchy layer on top. I used Molly and Me’s Praline Pecan Toppings but any of her home grown and home roasted pecan mixes would work just as well.


Pecan Apple Pie

Serves 4-6

Ingredients for the pastry:

8 oz plain flour

5 oz unsalted butter, chilled and cubed

3 ounces sugar

1 egg plus 1 egg yolk mixed with a splash of milk


Ingredients for the filling:

4 or 5 apples, I like to use a mixture

Zest of 1/2 lemon

3 tablespoons muscovado sugar

1/2 teaspoon cinnamon

1/2 teaspoon salt

1 cup of all purpose flour

1/8 teaspoon salt

1/4 cup of oats

1 stick of butter at room temperature

1/2 cup of soft brown sugar

1 jar Praline Pecan Toppings


Method for the pastry:

1. Preheat the oven to 300°F.

2. Put the flour, butter and sugar in a food processor and blitz until you get crumbs.

3. Add the egg and mix again.

4. Roll out the pastry on a floured surface until 1/4″ thick. Lay the pastry in a 9″ pie dish, cut off any overhang with a knife and press the back of a fork around the rim. Refrigerate while you prepare the filling.


Method for the filling:

1. Peel and core the apples then cut into eighths.

2. In a sauce pan over low heat, toss the apples with the lemon, sugar, cinnamon, salt and a tablespoon of water. Simmer for about 5 minutes and then allow to cool completely.

3. In a large mixing bowl, mix the flour, salt, oats and butter using your fingertips until you get a “crumbly” texture. 

4. Add the sugar to the mixture and combine well.

5. Remove the pie dish from the fridge, line with foil or parchment paper and then fill with uncooked rice or beans. Bake for 20 minutes and let cool.

6. Once cool, pack the apple mix tightly into the dish and sprinkle the crumble mixture  and then the pecans over the apples.

7. Use the yolk and milk mixture to egg wash the pastry rim and then bake in the oven for a further 30 minutes or until nicely browned. 


Raspberry Fool


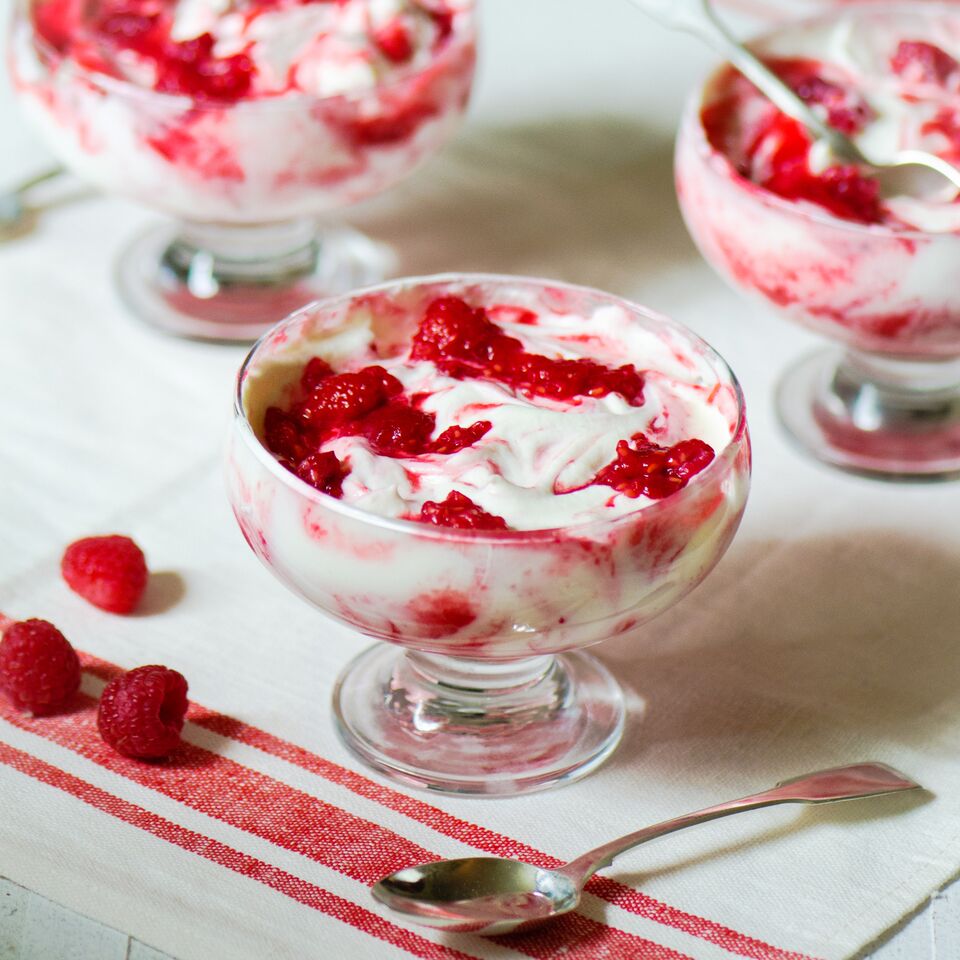
When I think of summer desserts, the fruit fool is always top of my list. Whether made with gooseberries, rhubarb or in this case raspberry, just 3 ingredients make up this classic English dessert. We weren’t given a lot of sweets growing up, but I always remember getting a Fool as a special treat. Decadent and delicious, it can be made by mashing any soft fruit with sugar and blending with whipped cream. Its name comes from the French ‘foulè’ meaning crushed. Add some broken meringues and you instantly have another English classic, Eton Mess. 


Raspberry Fool

Serves 4

Ingredients:

3 cups raspberries, divided

1/2 cup of sugar, divided

1 cup heavy cream


Method:

1. Purée half the raspberries with half the sugar in a blender. Then pass the purée through a sieve to remove the seeds. Discard the seeds and keep the purée to the side.

2. In a medium bowl, beat the cream with 1 tablespoon of sugar until soft peaks form.  

3. In another bowl, mix the remaining sugar with the remaining raspberries.

4. To finish the dessert you have several options. For completely mixed dessert, you can fold both the remaining raspberries with the purée into the whipped cream and watch as it turns into a soft pink color. Alternately, you can layer your dessert as pictured by starting with the purée, then adding a dollop of whipped cream and a scoop of mashed raspberries. To make patterns you can just run a spoon up the side of the glass, allowing the whipped cream to swirl with the purée.

Caramel Pecan Sticky Buns


Everyone loves a good sticky bun but not many people have the time or inclination to wait for dough to rise. These are the perfect solution. They use self-rising flour instead of yeast and as a result they cook in under 20 minutes and have an incredibly fluffy texture. It is one of those recipes that looks too good to be true but you’ll be passing along to your friends and making again and again.


Caramel Pecan Sticky Buns

Makes 12 

Ingredients:

Caramel Glaze:

2 tablespoons caramel sauce

4 tablespoons melted butter

1/4 cup brown sugar

1/2 cup Bourbon Pecan Toppings


Dough:

2 cups self rising flour, plus a little additional for rolling

1 cup heavy whipping cream

1-2 tablespoons cold water


Cinnamon Filling:

5 tablespoons warmed and soft butter, divided

2 teaspoons cinnamon

1/2 cup brown sugar


Method:

1. Preheat oven to 425F. Line a 9 inch cake pan with parchment paper. To do so, roll out a piece of parchment and place your cake pan on top. Trace around the edge with a pairing knife using just enough pressure to cut. Lay circular parchment in cake pan.

2. Pour butter on top of parchment then drizzle caramel sauce on top. Sprinkle with brown sugar and chopped pecans and spread to create one even layer.

3. In a medium bowl mix flour and whipping cream. Add 1-2 tablespoons cold water (just enough to get the dough to hold together to form a ball).

4. On a lightly floured surface, roll out your dough to about a foot long and 8 inches wide. Top with 4 tablespoons softened butter. Then sprinkle with cinnamon and evenly spread out the brown sugar.

5. Roll the dough towards you to create a 12 inch log with the seam facing down.

6. Slice off 1/4 inch from each of the ends and discard then divide the dough into 12 even slices.

7. Position your slices in a ring atop the caramel pecan coating (leaving as much space between them as possible). Brush with remaining tablespoon of butter and bake 17 minutes until browned.

8. Flip onto a serving plate so the caramel pecan glaze faces up and trickles down your finished buns. Serve warm.

Vanilla Caramel Popcorn


Today is a red letter day! The official publication day of Recipes From Many Kitchens. It also just happens to be National Popcorn Day. So to celebrate both, we thought we’d share one of the recipes from the book; The Caramel Jar’s Vanilla Caramel Corn.


Ridiculously addictive, I’ve had to give what was left of my stash away. No matter how many times I put it to the back of the cupboard, I found myself rummaging around for just another handful of these enticingly sweet and crunchy treats.


Vanilla Caramel Popcorn by The Caramel Jar

Makes roughly 8-10 cups

1/2 cup (46g) popcorn kernels {works best with an air popper}

8 tablespoons (115g) butter

1 cup (200g) lightly packed brown sugar

1/4 cup (60ml) brown rice syrup or corn syrup

1 1/2 teaspoons vanilla extract

1 teaspoon fleur de sel sea salt

1/4 teaspoon baking soda

Make popcorn (if you don’t have an air popper, use a large saucepan with a tight fitting lid). Set aside in large heat proof mixing bowl.

Preheat oven to 275ºF (135ºC).


Method:

Combine butter, salt, sugar, brown rice syrup, and vanilla in saucepan on medium high heat. Stir gently until it comes to a rolling boil and the bubbles/sugar mixture starts to change color and fluff up or reaches 230ºF (110ºC) on a candy thermometer. Remove sugar mixture from heat. Add baking soda and combine with popcorn. Mix gently until well coated. Spread on parchment lined baking sheets and bake for 45 minutes. Stir every 15 minutes. Remove from oven, give final mix on baking tray to reincorporate caramel that has melted off. Spread out on baking tray to cool. Once cool, store in an airtight container for 4-7 days. If it lasts that long!

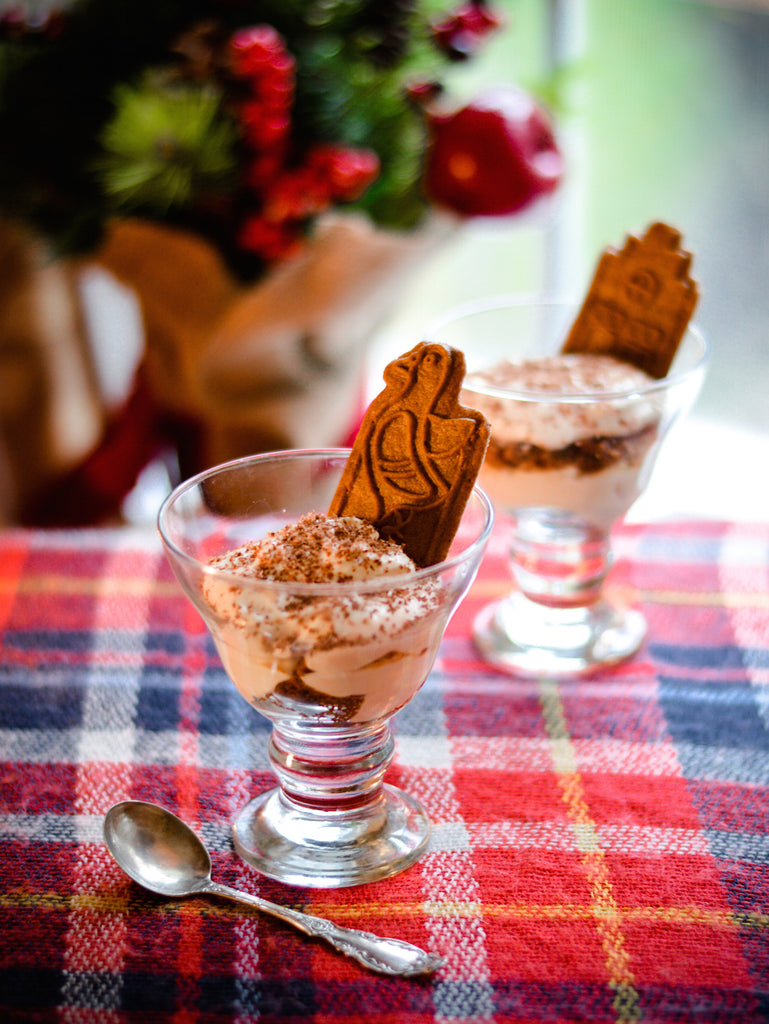
Speculoos Tiramisù


Tiramisù is one of those desserts that’s universally loved. As a child, I was given mascarpone mixed with sugar and coffee which was perhaps contrary to today’s child rearing advice and might have been responsible for some hyperactivity but I couldn’t get enough of it.


Tiramisù takes no time at all to put together and can be made in advance whether you’re making individual portions or a large dish for a feast. The only tricky part is sourcing the traditional ‘ladyfingers’. We substituted Little Beligian’s Speculoos which have so much more flavor and the cinnamon, nutmeg and cloves made the whole dish taste so Christmasy!


Speculoos Tiramisù

Servings: 4 individual cups 

Ingredients:

3 large egg yolks, room temperature

2 tablespoons granulated sugar

1/4 cup liquor (Marsala wine, dark rum or brandy (debate goes out as to the traditional alcohol- opt for what you prefer or have on hand)

1/2 cup brewed espresso

8 oz mascarpone cheese

16 speculoos cookies (1 bag of original speculoos, you may have some leftover for munching as you assemble)

Shaved dark chocolate for topping 


Method:

1. In a large bowl with an electric mixer, beat egg yolks and sugar together. Mix for about 5 minutes on high until mixture turns pale yellow and thickens.

2. Add in 2 tablespoons of liquor and 1/4 cup espresso. Stir mixture till all ingredients are incorporated.

3. In a small bowl, combine remaining liquor and espresso.

4. Break your speculoos in order to fit to the bottom of your individual glasses (I broke in 4 pieces for my smallest layer). Dip the cookies quickly in the small bowl of liquor and espresso and place in the bottom of container.

5. Dollop a large spoonful of mascarpone cream in each glass and smooth the top.

6. Repeat with a second layer of speculoos cookies dipped in espresso and mascarpone cream on top.

7. To finish, use a microplane to dust the top with dark chocolate. Cover with plastic wrap and refrigerate overnight.